Stripped, a French braid quilt
Date Posted:30 May 2022
This is an easy quilt to stitch but it looks like you’ve been very clever.
A great way to use some of your stash. You can make it as scrappy or as colour coordinated as you like.
You could use a jelly roll of my new fabric range with Moda called The Lookout.
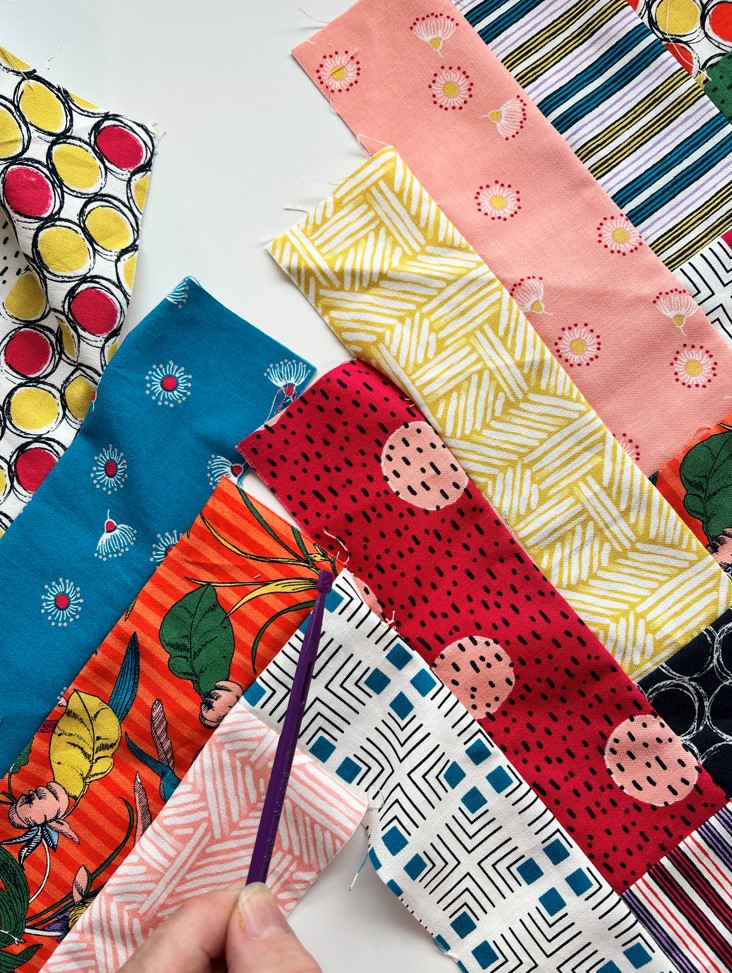
The strips would be 2.5” wide but you can really cut your strips as wide and as long depending on the fabric you have available. The strips all need to be cut to the exact same measurement and a good rule is ….
However wide your strip, cut the length 3 or 4 times this measurement.
I cut 2.5” wide x 8” long but you could cut 2.5”x 6.5” or 7.5” etc. If you have small scraps cut the strips narrower and shorter.
If your fabrics allow, cut the strip down the length of fabrics as this has less stretch and gives a great result.
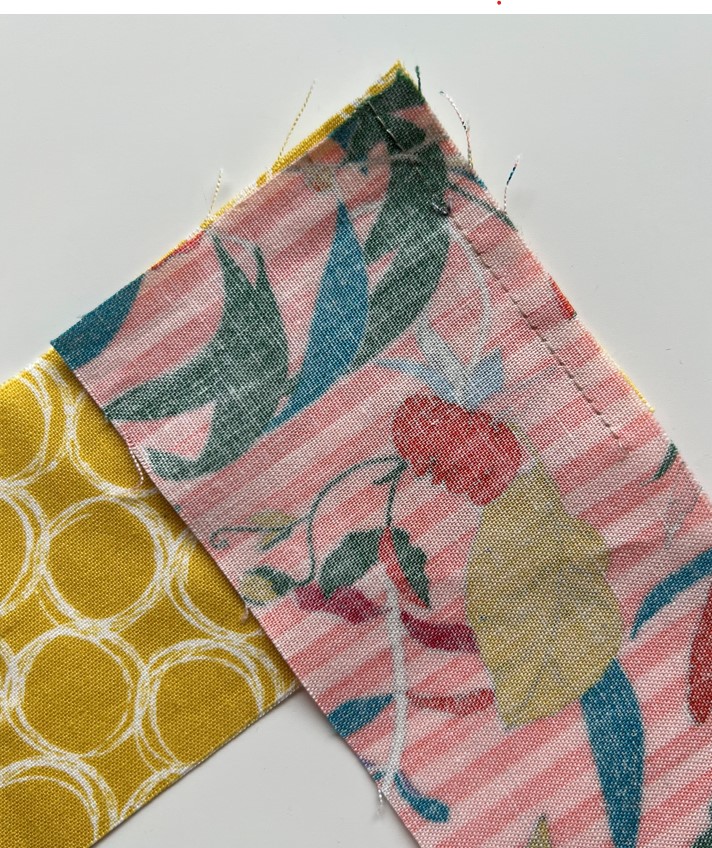
1. Lay fabric strips out. You will have a right and left hand side. It doesn’t matter which way you stitch but keep it consistent . I lay my right hand strip on top of the left hand, right sides together. Stitch two strips together as follows, down the short edge.
.jpg)
2. Stitch next strip in place but stop about 1” before the end of this strip. This is a very important step when it comes to stitching the rows together
.jpg)
3. Continue adding strips, alternating sides and always leaving the last 1” unstitched. Stitch the number of strips until you have a row that measures the desired length… remembering you will be trimming to straighten each end.
.jpg)
.jpg)
.jpg)
4. Make however many rows you require.
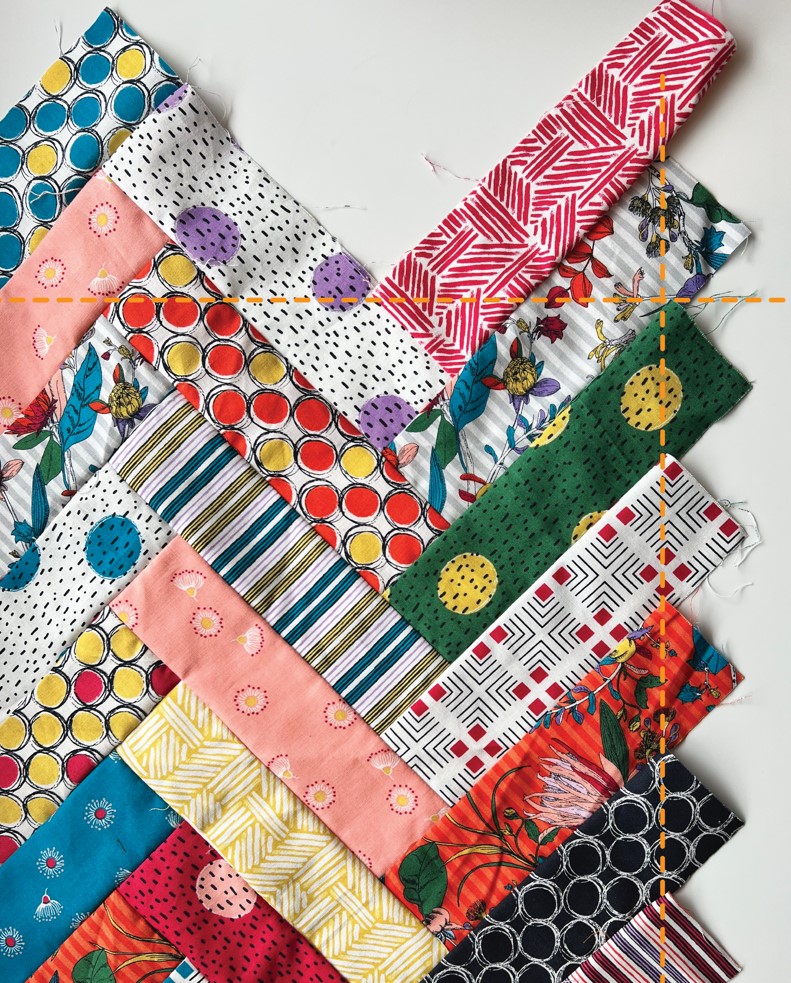
5. Lay rows out with all the “arrows” pointing up ⬆️
.jpg)
6. Turn rows around as this makes it easier to stitch. You are going to stitch a “zig zag” seam and this is why it is important to leave that 1” unstitched at the end of each row.
.jpg)
7. Lay 2 rows right sides together and stitch the first short seam. Once this seam is sewn you will see how easily the rest will fall into line.
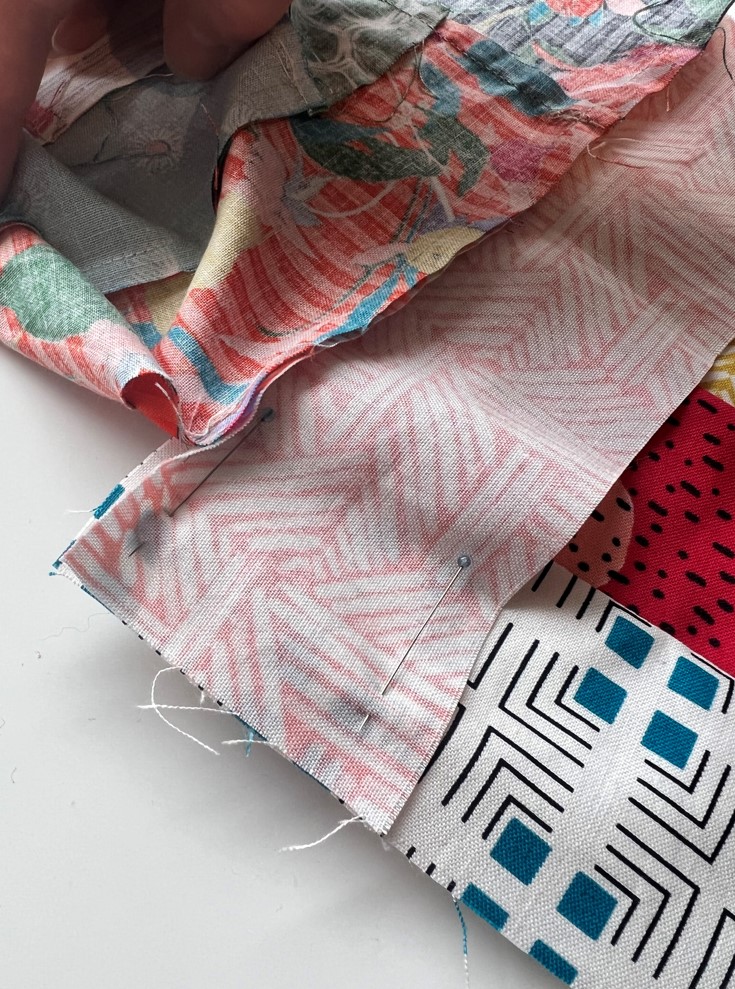
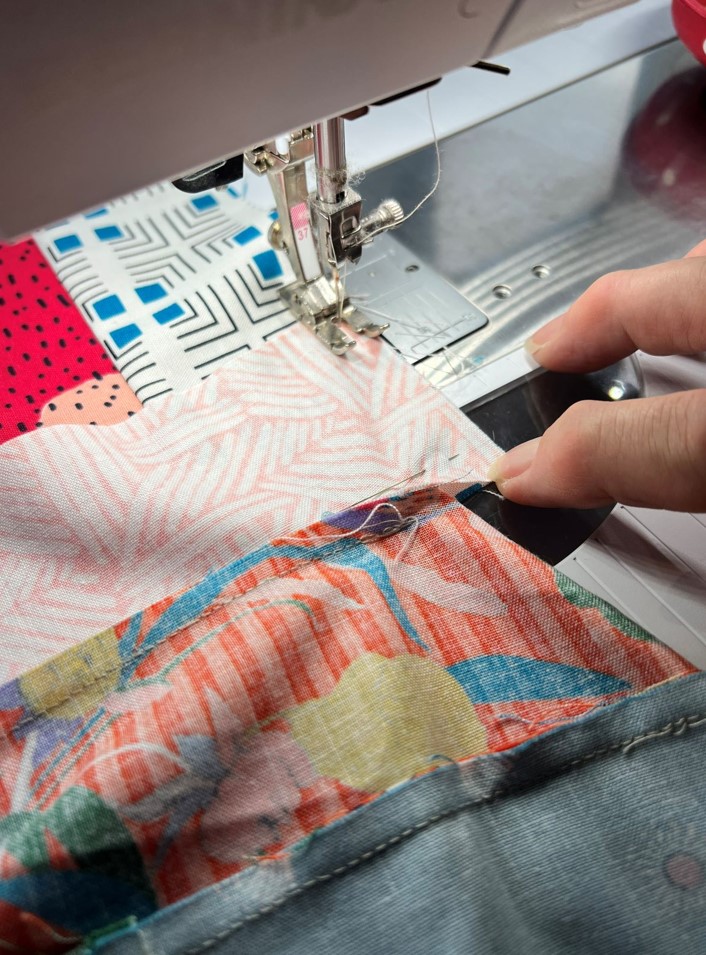
8. Pivot the pieces and stitch the next short seam. Take care that the seam allowance you are stitching across isn’t twisted.
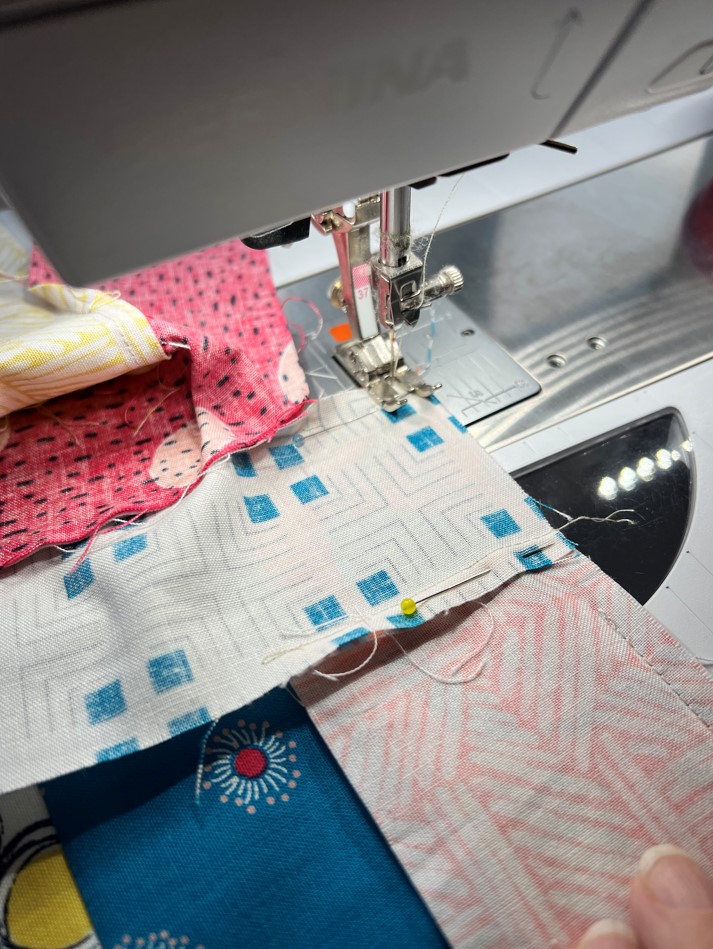
9. Continue up along the zigzag seam until the rows are joined.
9. Repeat with all rows
10.Once you have completed the quilt top you need to stitch the 1” openings down the vertical side edges.
11.Trim all sides to square off your quilt top.
13. Baste and quilt as desired.
.jpg)